Showing posts with label Science Lab. Show all posts

Carbon Atomic Structure

This was done for a school assignment "How to represent Carbon Atom".e

Forgot to take step wise photos of the making process. 

But here are the steps in text:

1)   Take a big thermacoal ball approximately  3" in diameter, cut it into half.

2) Paint it black with Acrylic color.

3) Let it dry.

4) Make a 1/2 cm long ring to represent "L" shell using white color.

4) Take some wooden beads of  three different colors.   We had orange, pink and green.


  • Orange beads represented Neutron.
  • Pink Bead represented Proton
  •  Green Bead represented Electron.


5)  Last step was to paste the beads on the ball.  6 Proton and  6 Neutron in center part representing Nucleus.

And 2 Green Beads on white band "L" shell. And remaining 4 green beads on the "M" shell represented by outer black band.


Here is the final model.


Chemical Reactions Model building activity

We also did a fun model building for chemical reactions.

Not that my daughter had any problem in understanding and forming chemical reaction equations.

We still did an activity, just to ensure more clarity about the concept.

Material used were small thermacoal balls and barbecue skewers. Some colors, we used acrylic as it gives a nice shine and texture.


So you start with coloring the balls in different colors. Ensure you have atleast 8-10 balls of each color.


We used acrylic colors to paint the balls in different colors to represent atoms of various elements.


Once the colored balls were dried up, we were ready to experiment with molecular structure.


Here is a sample reaction we tried for methane and oxygen reaction.

The chemical equation is CH4 + 2O2    =   CO2  +  2 H2O


And this is how we made the model


It helps to a great extent in gaining clear understanding of chemical reaction. 

1. It gives  an actual understanding of how molecules break in a chemical reaction to form a new compound. 

2. Also how atoms bond in a compound.

I would recommend it to all parents as a must do activity for grade 6 and above students.


Wish I had figured out this technique when I was studying. Let me confess that I was very bad in chemistry. Because I never got clarity on concepts like molecular structure and valency and bonding of atoms. 


Inside Atom - Fun Hands On Activity


Atomic structure is a fairly simple concepts to understand and remember, if explained properly.

But kids do tend to get confused about various orbits, constituents of nucleus , naming conventions, electron in a particular orbit etc.

My challenge today was to design an activity for Atomic Structure concepts.

I decided to make concentric rings out of foam sheets to represent the orbits.

And Boards pins to represent neutron, proton and electron. Some paper tape was used for labeling purpose.

We started with arranging the orbits around nucleus.


Once the basic frame was ready.

Next we put label for "Nucleus" and orbits "K", "L", "M".

(Kids understand that "K" is first orbit , "L" second , "M" third and so on)


We decided to represent Oxygen atom in this.

Oxygen has atomic number 8.  So number of electrons, protons will be 8. Oxygen has equal number of neutron so that is also 8.


We picked white boards for neutron and  blue boards for proton. Green ones were used as electron.


Oxygen model was ready in few minutes. 


Later we made lots of atomic model of various elements. What a fun filled learning session we had...

Am I please with myself ... you bet I am. Nothing is more rewarding than a happy child who is enjoying learning new concepts.

Try it with your kids and let me know their reactions.


An Automata Trial

So the question today was What is complex machine?

And the answer was "Its a machine that uses one or more simple machines"You remember simple machines, we studied that last year. The five types".

"Yes I know. Can you show me an example of complex machine?", my daughter asked.

Can I ???

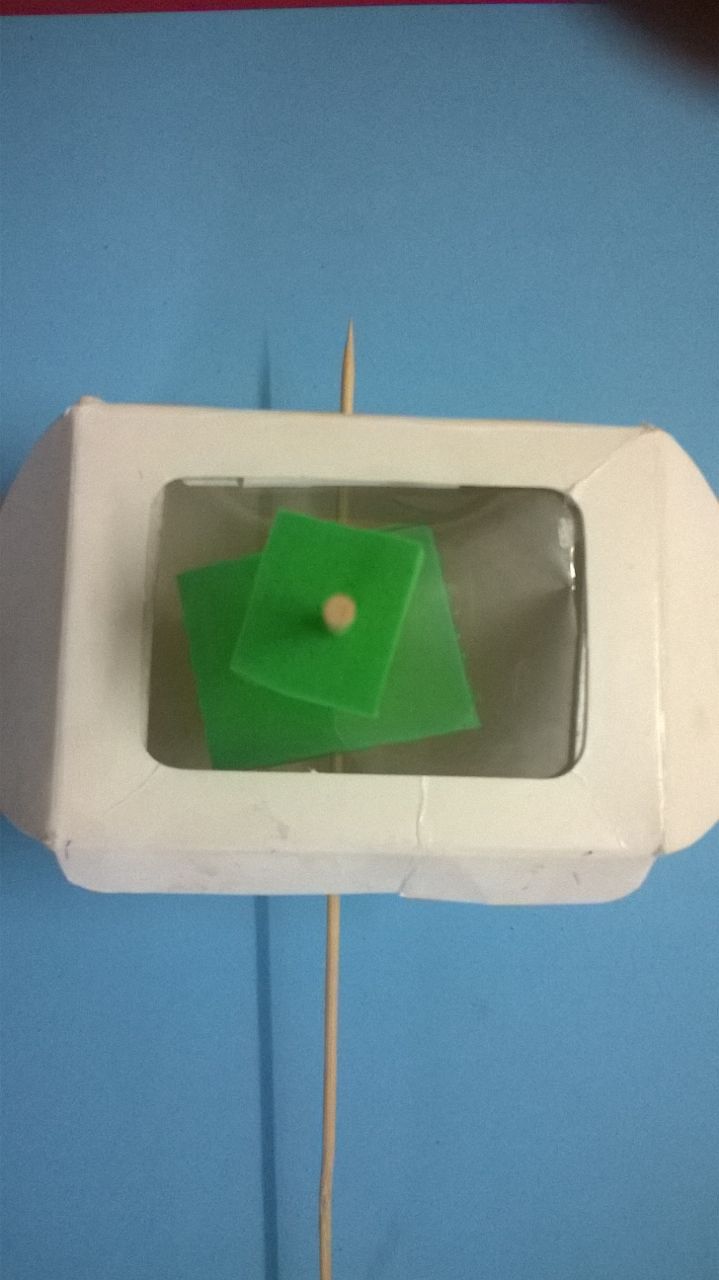
Oh yes. Lets first collect the things we need. An old box, some barbecue skewers, some foam sheets, some character for automata so I picked the butterfly and leaf.

(Not my original thought, had seen this beautiful automata on some site)


I wanted her to try build a lever, wheel and cogs kind of mechanism. Which is very basic for automata.

So we took the box made two holes on the opposite sides for skewer to pass through, a circular foam piece became the wheel or one of the main cogs of the assembly.


Next we put a square foam piece on top of the first wheel and one more skewer that was attached to the square piece and out from the top of the box.


Final step was to put the leaf and butterfly on the skewer. And our automata was ready. When we moved the axle (the longer skewer holding the cog) the wings of butterfly fluttered and it moved left and right.